Digital Transformation Consulting: Cost, Strategy,...
October 13, 2025

JavaScript is an essential component of full-stack development, making it excellent for creating comprehensive commercial apps. It works well with a variety of devices on both the front end (what customers see) and back end (server side) of websites and applications. Node.js is one of these tools, and it’s ideal for developing parts of a website or application that must deal with large numbers of clients or data.
Before we get into the nitty gritty of Node.js, we’d like to address two important questions: how to install npm (Hub Bundle Chief) on a Macintosh and how to do it on Windows.
If you’re having trouble installing Node.js and npm on your Windows or Mac PC, this guide can assist. We’ll make it simple to introduce Node.js and npm to help your project succeed gradually.
To start, you should understand what npm is and why it is significant while utilizing Node.js. Before you start, you want additionally to guarantee that your PC is fit for running Node.js and NPM.
How about we go over the steps for introducing Node.js and npm, making sure you have everything you need to use them in your tasks?
NPM (Node Package Manager) is like a big online store for JavaScript programmers. It’s a tool that helps them find and use various code pieces (called packages) that other programmers have created. These packages can do all sorts of useful things, like add new features to a project or help the code run smoothly.
NPM makes it easy for programmers to pick and choose which packages they want to use in their projects. They can also make sure they’re using the right version of a package so everything works well together. In short, NPM helps JavaScript programmers share, find, and use code easily and efficiently.
Website: Think of the NPM website as a big online store, but instead of buying clothes or gadgets, you can find and get small blocks of code, which are called packages. These packages help you build and improve your JavaScript projects. The website is very user-friendly. You can search for different packages, read instructions on how to use them, and see how popular or well-rated they are. Also, if you create your own packages, you can manage them through the website, just like managing your profile on a social media platform.
Command Line Interface (CLI): The NPM Command Line Interface is like a magic wand for developers. It’s a tool you use on your computer’s command line or terminal. With it, you can do a bunch of important tasks just by typing commands. For example, you can add (install) new packages to your project, update them, and remove them if you no longer need them. It’s also used for starting new projects and sharing your bundles with others by uploading (publishing) them to the NPM Vault. This tool is very powerful and helps you manage all the building blocks (packages) of your JavaScript project.
Registry: The NPM Registry is a massive database of the packages and bundles that developers have created. Like a database, keep track of these enormous packages, their formats (like different editions of a book), and the core facts about them, comparable to what different packages they may require to function. When developers create new packages, they save them in this library so that other designers can use them in their projects. This vault ensures that you always get the correct variant of a package you truly want, making it a valuable asset for dealing with these packages in your operations.
Node.js is an open-source, cross-platform runtime environment JavaScript code beyond a web browser. Previously, JavaScript was primarily a client-side prearranging language for web browsers. In any case, Node.js has evolved into a useful tool for server-side programming. This move has been crucial, allowing designers to use a single programming language throughout the web development stack, resulting in more proficient and cohesive codebases.
Node.js operates on a non-blocking, event-driven architecture, making it extremely effective and convertible. This is very useful for applications requiring continuous information handling, such as visit applications and internet gaming.
It runs on Google Chrome’s V8 JavaScript engine, which converts JavaScript directly to native machine code, improving execution.
Node.js boasts an extensive library of JavaScript modules, which further develops the improvement process by lessening the need to compose a lot of code.
NPM stands as the largest software registry in the world. It acts as the default package manager for Node.js, allowing developers to install, share, and manage library dependencies in their projects.
Package Management: NPM simplifies the process of managing project dependencies. It simplifies the process of installing, upgrading, and using libraries and tools required for modern web development.
Through NPM, developers gain access to thousands of packages, contributing to a vast repository of solutions and tools. This greatly accelerates development workflows and encourages code reuse.
NPM also assists in version control and dependency management of projects. It allows developers to specify which versions of a package their project can use, preventing potential conflicts and ensuring compatibility.
The blend of Node.js and NPM has turned into an establishment in the field of JavaScript improvement. Node.js gives the climate to running JavaScript on a server, though NPM gives the tools and modules expected to construct and oversee applications inside that climate. This synergy has had a significant impact on JavaScript’s ascent to noticeable quality as a full-stack improvement language fit for dealing with both client-side and server-side preparation in a durable way.
Prior to continuing with the installation of Node.js and NPM on your Windows or Mac machine, it’s vital to guarantee that your system meets specific requirements. These essentials are central to ensuring a smooth establishment process and ideal working of Node.js and NPM.
Windows 7 or later renditions are suggested for better similarity.
macOS 10.10 (Yosemite) or later versions are best for ideal similarity with Node.js and NPM.
Downloading the NPM Bundle for macOS:
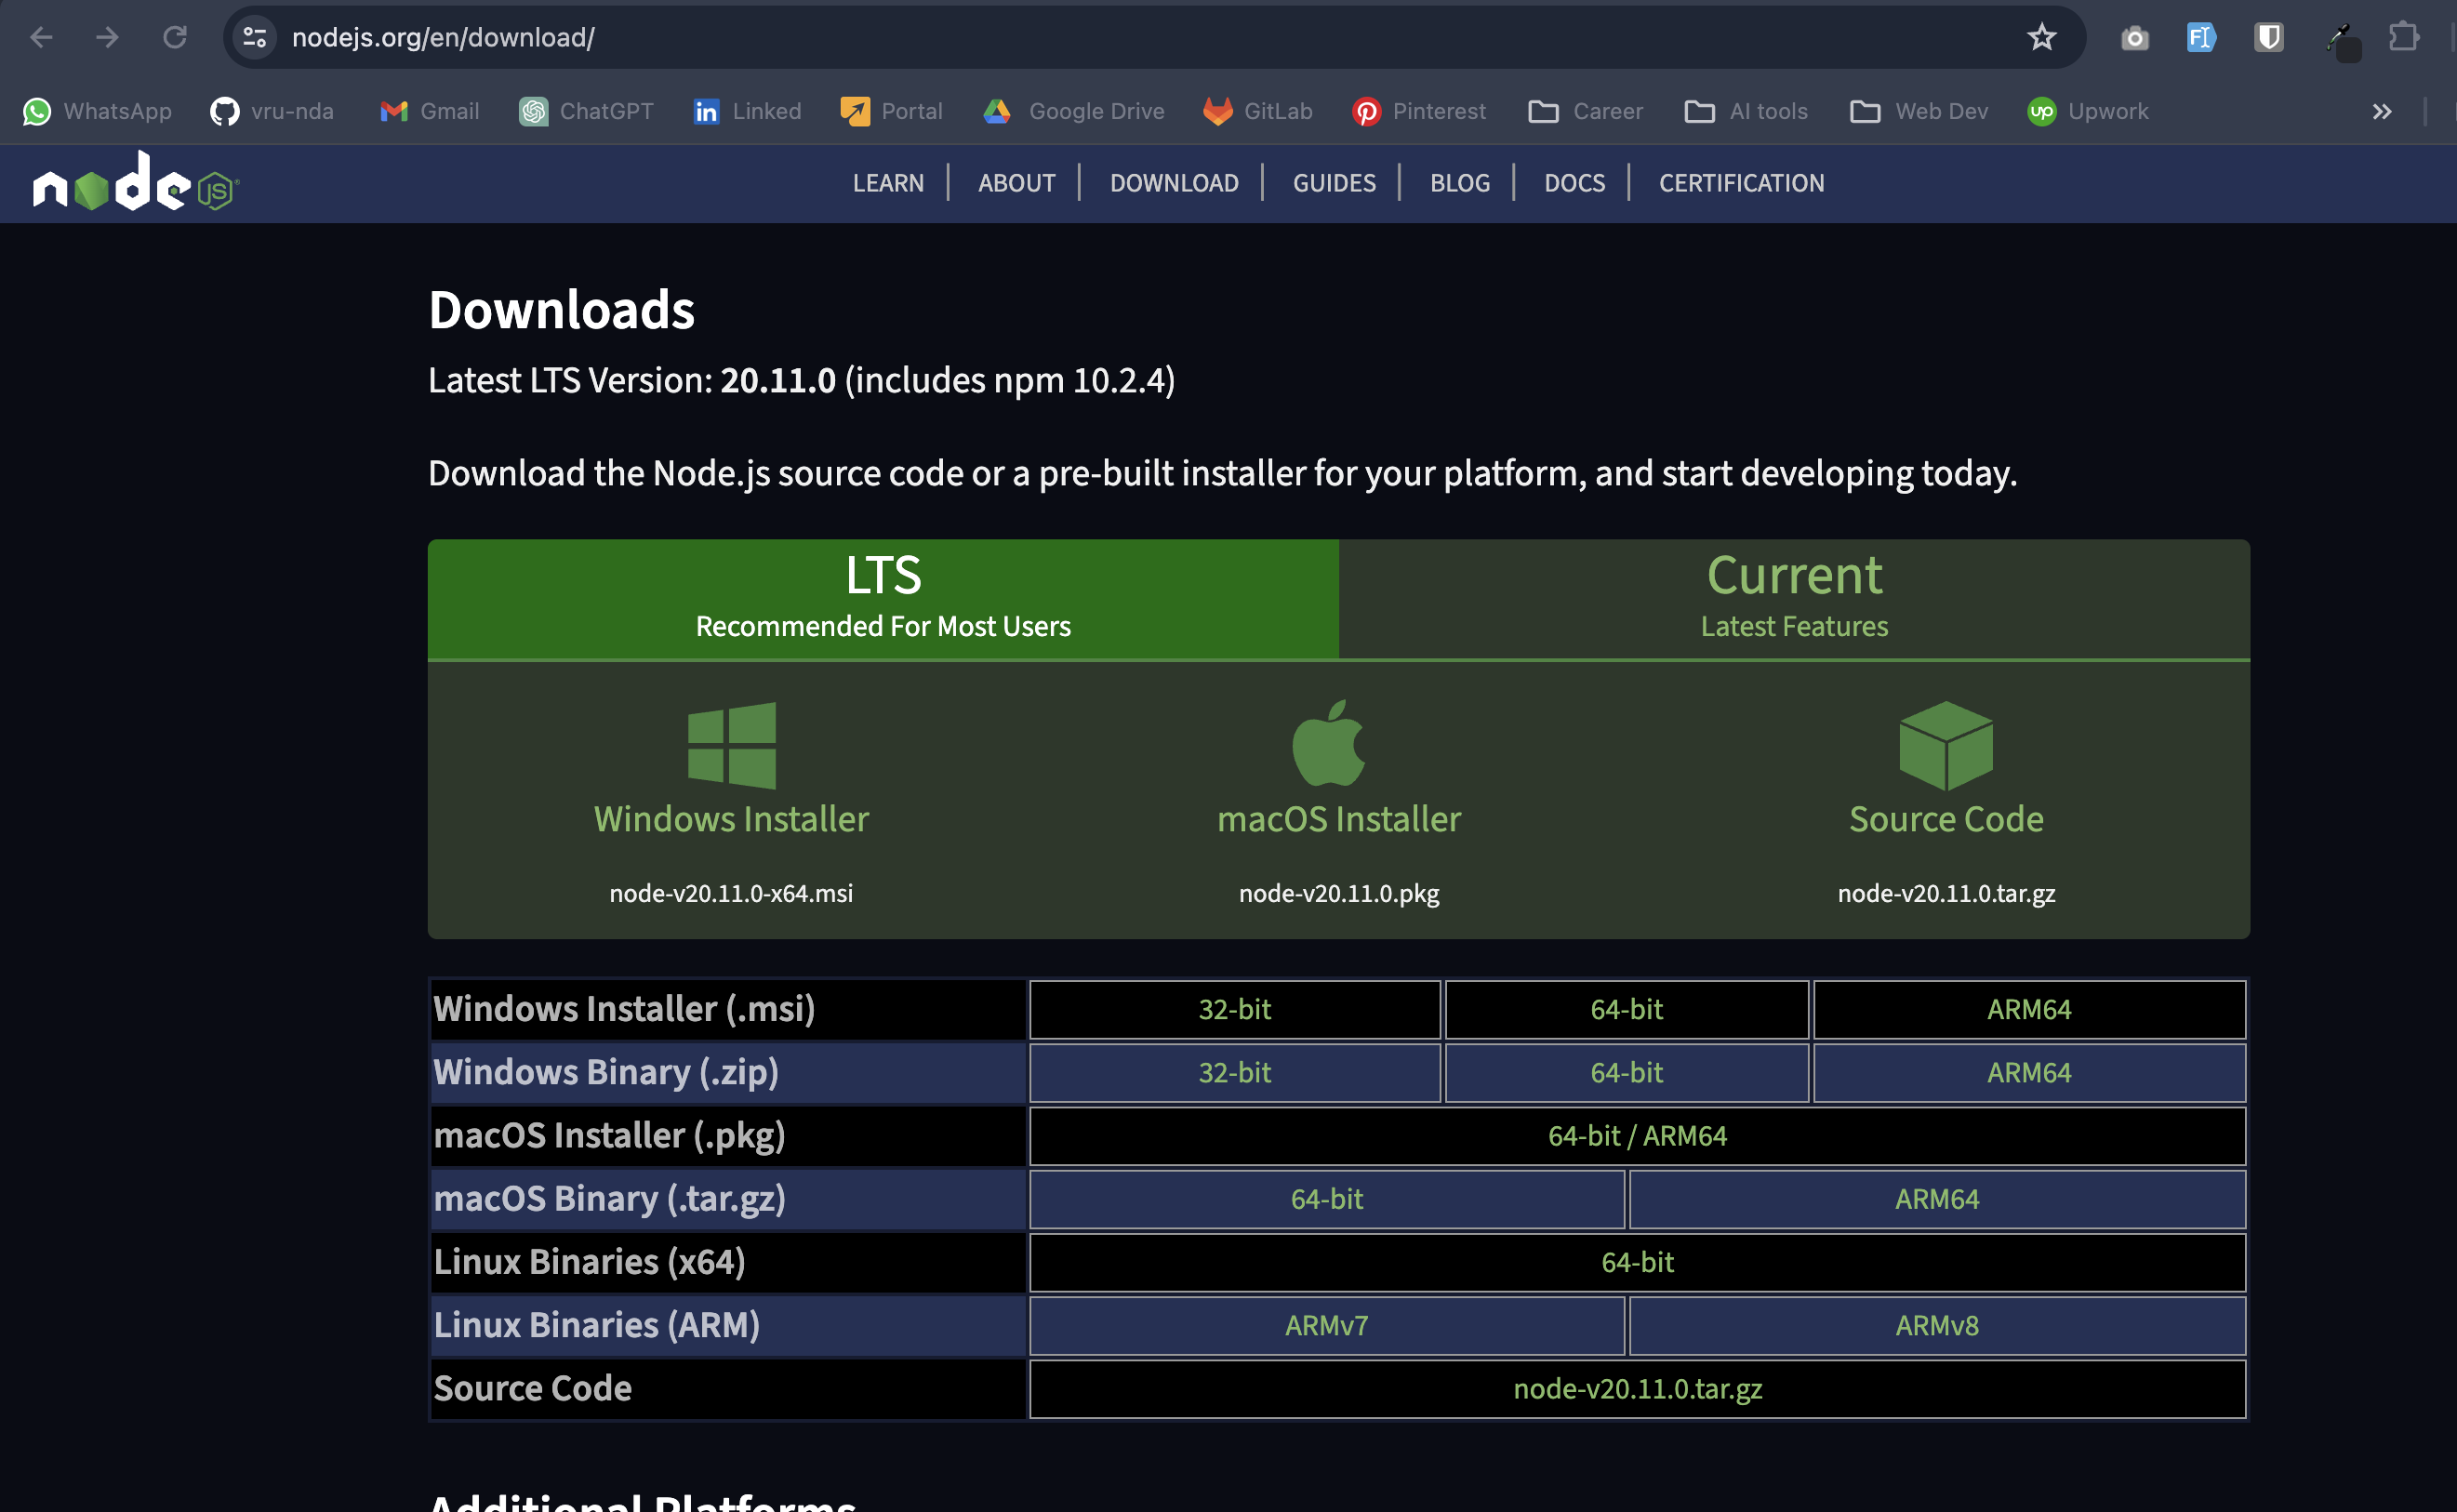
Visit the Official Node.js Site: Open your favored web browser and explore the Node.js official download page.
Select the macOS Installer: You’ll track down choices for different working systems. Pick the macOS Installer, which ordinarily arrives in a .pkg document design, reasonable for Mac.
Download the Installer: Snap on the macOS Installer connect to begin the download. It ought to naturally download the document to your default download area.

![]()

Running the Package Manager as per Guidelines:
Locate the Downloaded File: Navigate to where the installer was downloaded, generally the ‘Downloads’ organizer.
Run the Installer: Double-tap the .pkg document to open the establishment wizard. Another window will direct you through the setup process.
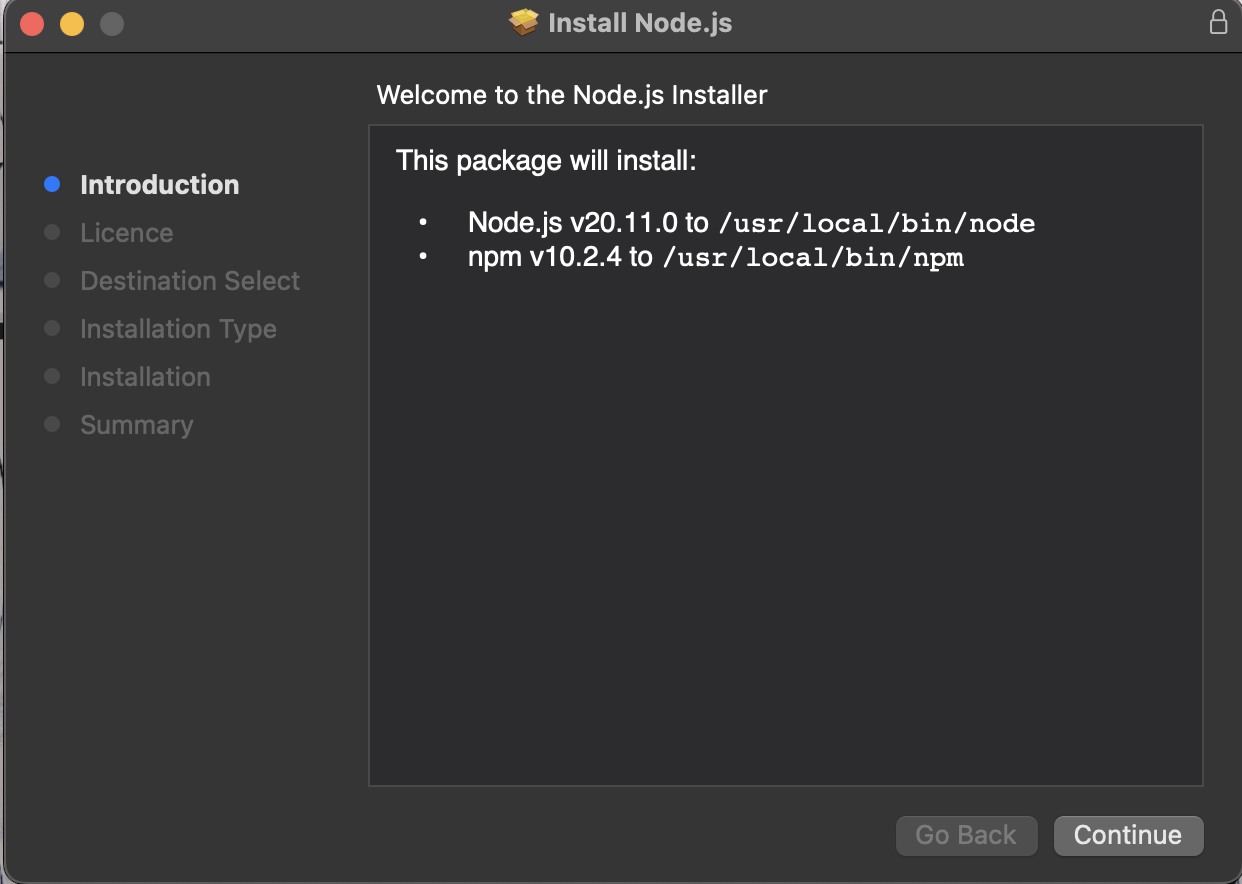
Agreeing to License Terms and Conditions:
Read the License: During the installation process, you’ll be given Node.js’ permit agreements. Going through these terms is significant.
Agree to the Terms: If you agree with the terms, then click the ‘Agree’ button. The following step is required to proceed with the installation.
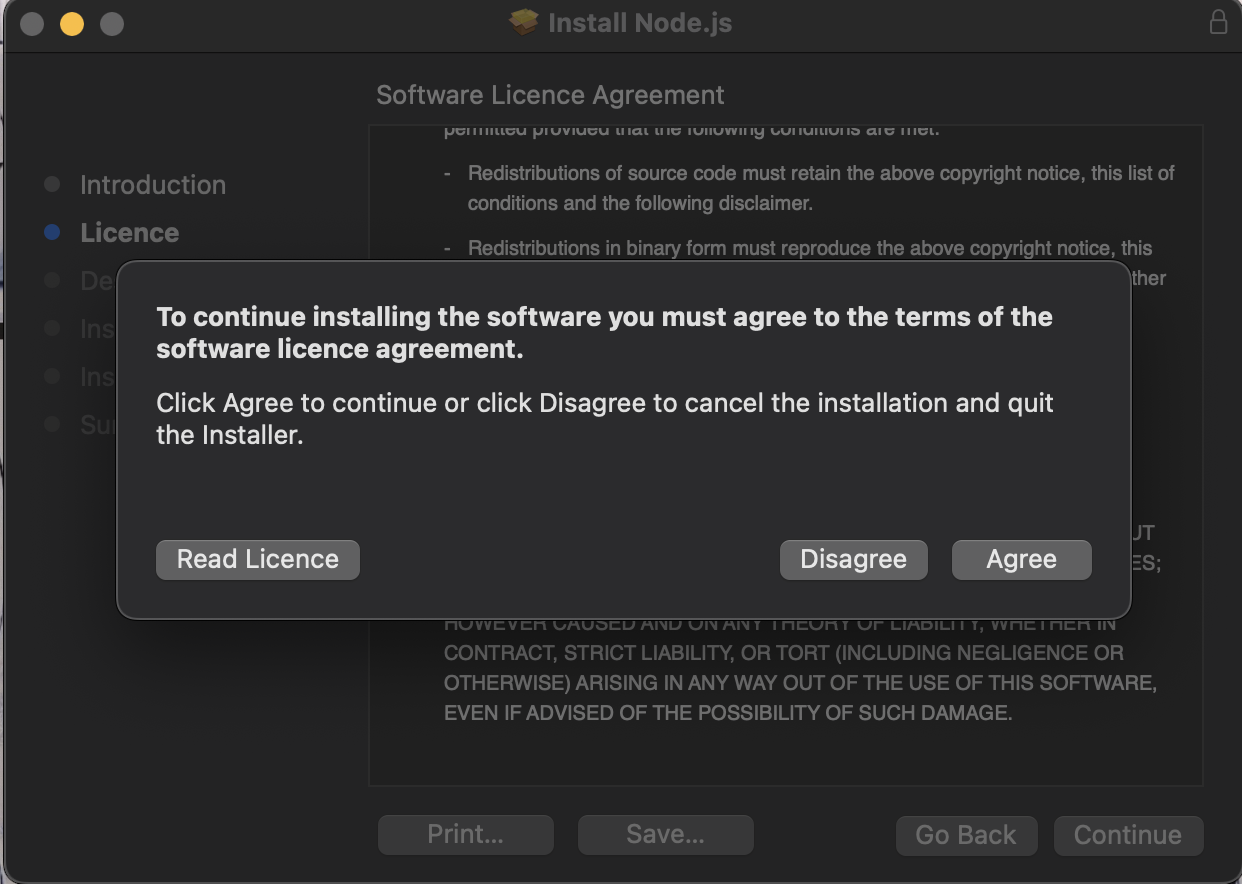
Moving to Final Installation:
Choose the Installation Location: The installer will recommend a default area for Node.js and NPM. You can change this if essential, however for most clients, the default location is adequate.
Start the Installation: After setting the location, click the ‘Install’ button. You might be incited to enter your administrator password to authorize the installation.
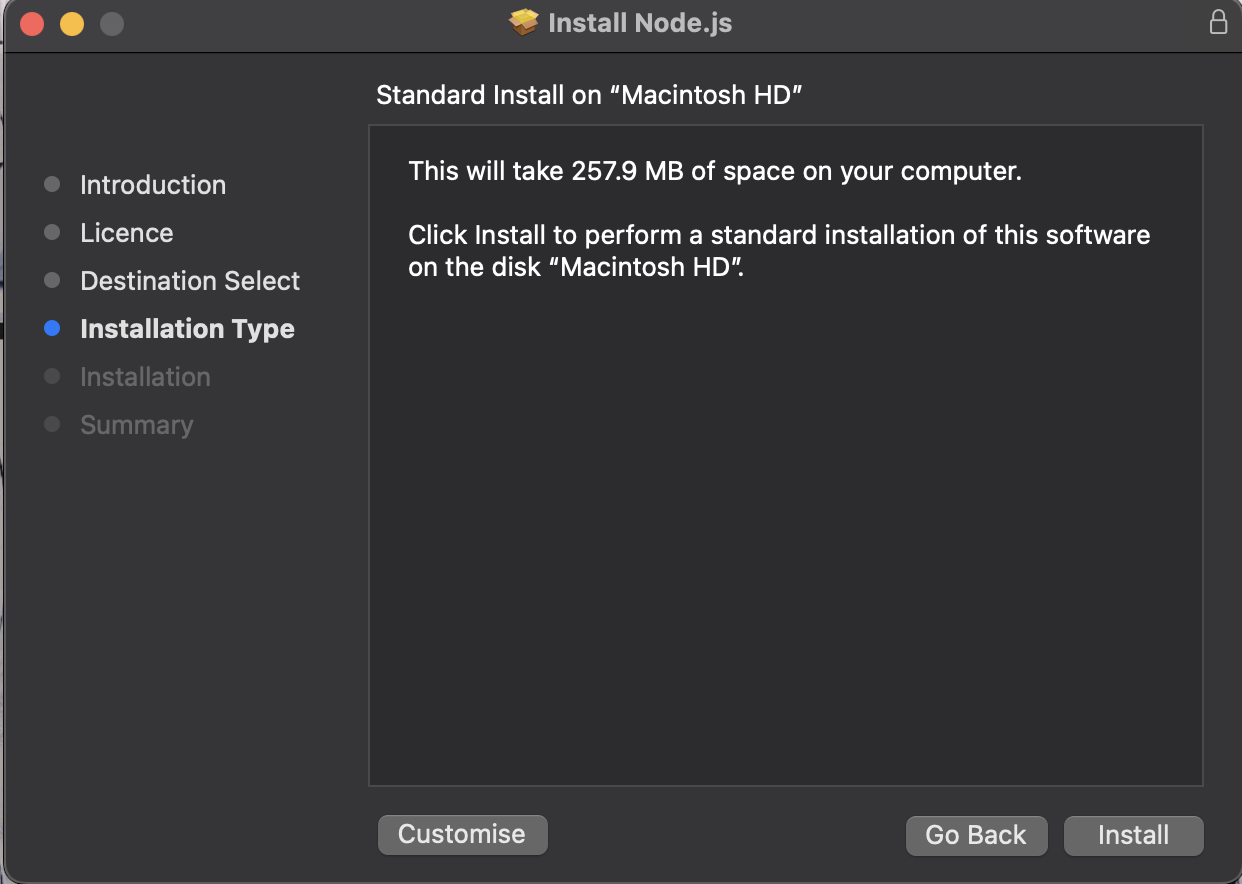
Installation Completed:
Wait for the Installation to Finish: The installer will show a progress bar. Hold on for it to wrap up.
Confirmation Message: When the installation is finished, you will get a confirmation message exhibiting that Node.js has been successfully presented on your Mac.
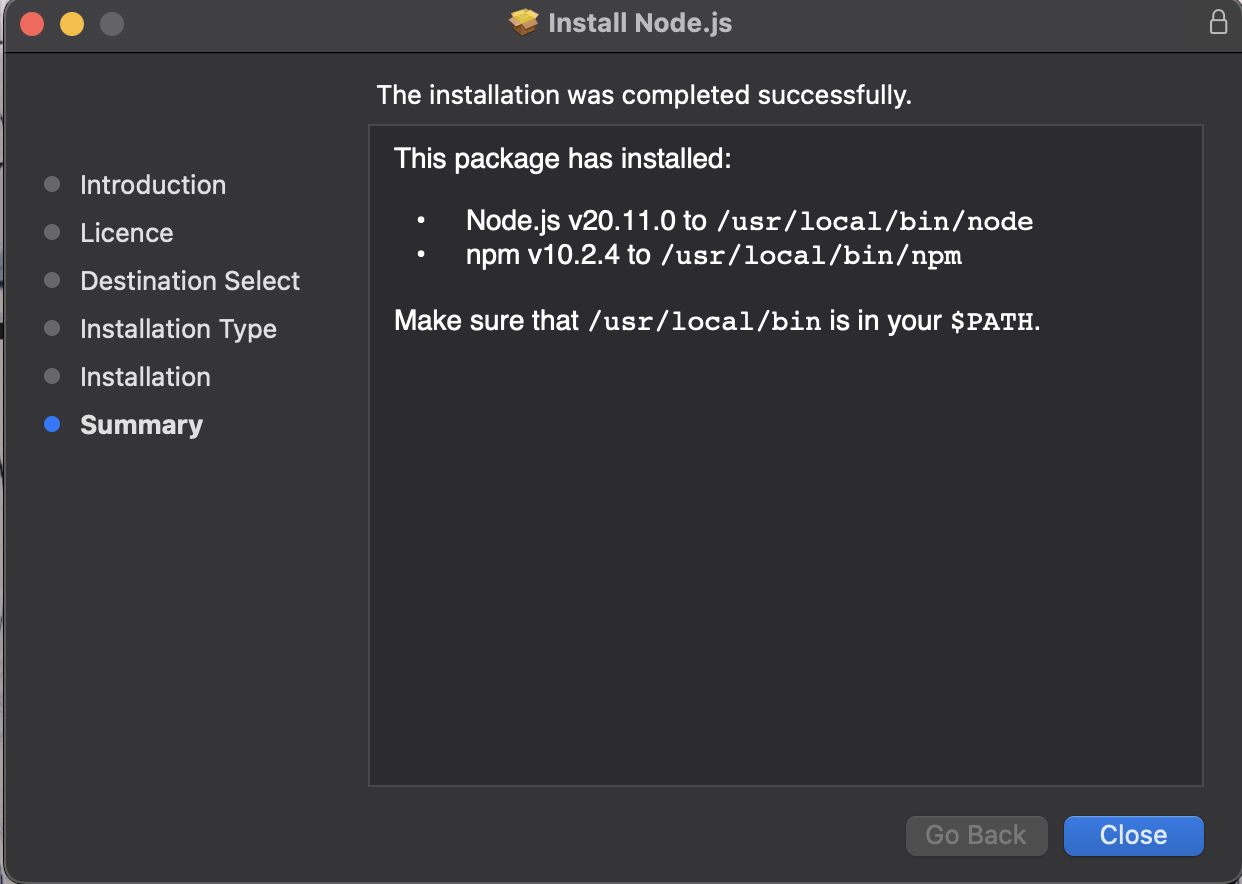
Close the Installer: Click the ‘Close’ button to exit the installer.
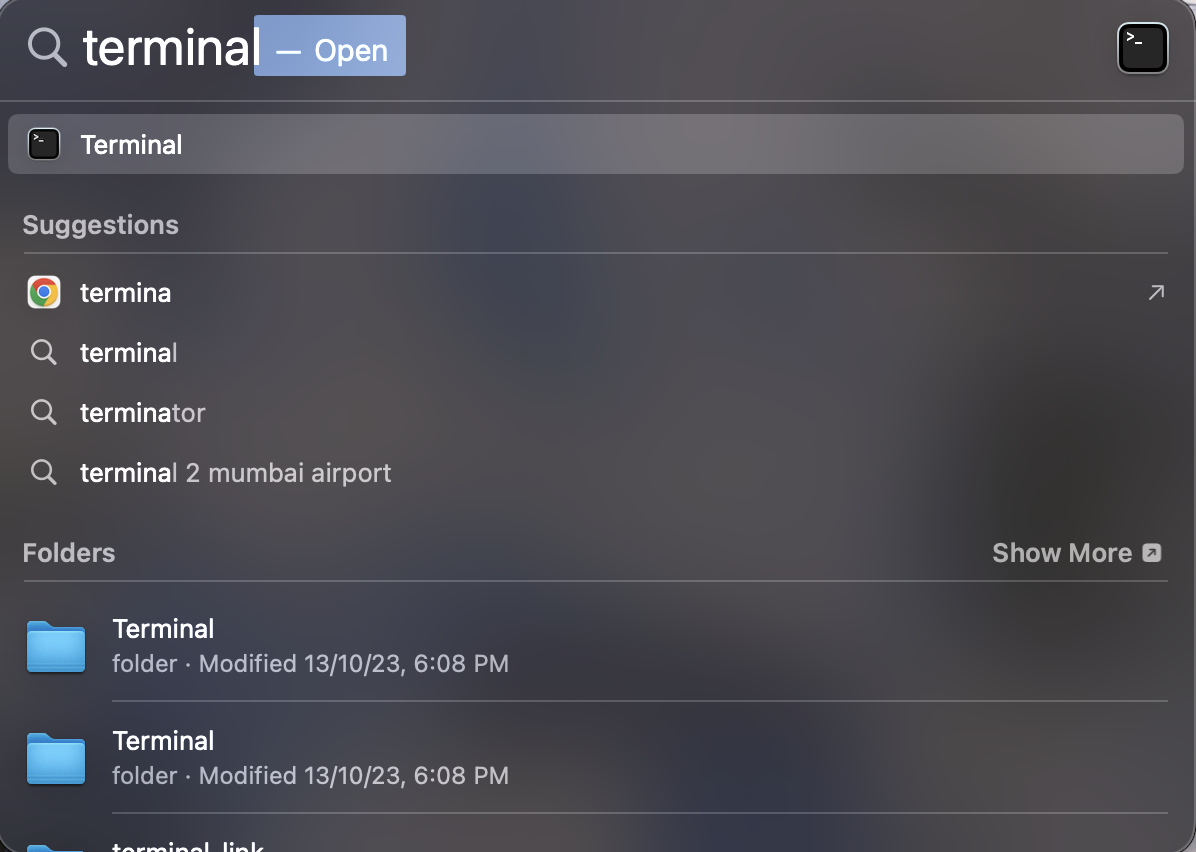
Subsequent to completing these means, Node.js and NPM will be installed on your Mac. To check the establishment, you can open the Terminal application and type hub – v and npm – v. This will show the introduced renditions of Node.js and NPM, confirming that they are ready to use. With Node.js and NPM installed, you can now keep on including them in your headway projects on your Mac.
Start by securing the Node.js package manager, NPM. Navigate to the Node.js official site at https://nodejs.org/en/download/for the download choices. Pick the suitable Windows Installer file (.msi) in view of your system’s architecture (32-bit or 64-bit) and start the download by clicking on your selection.
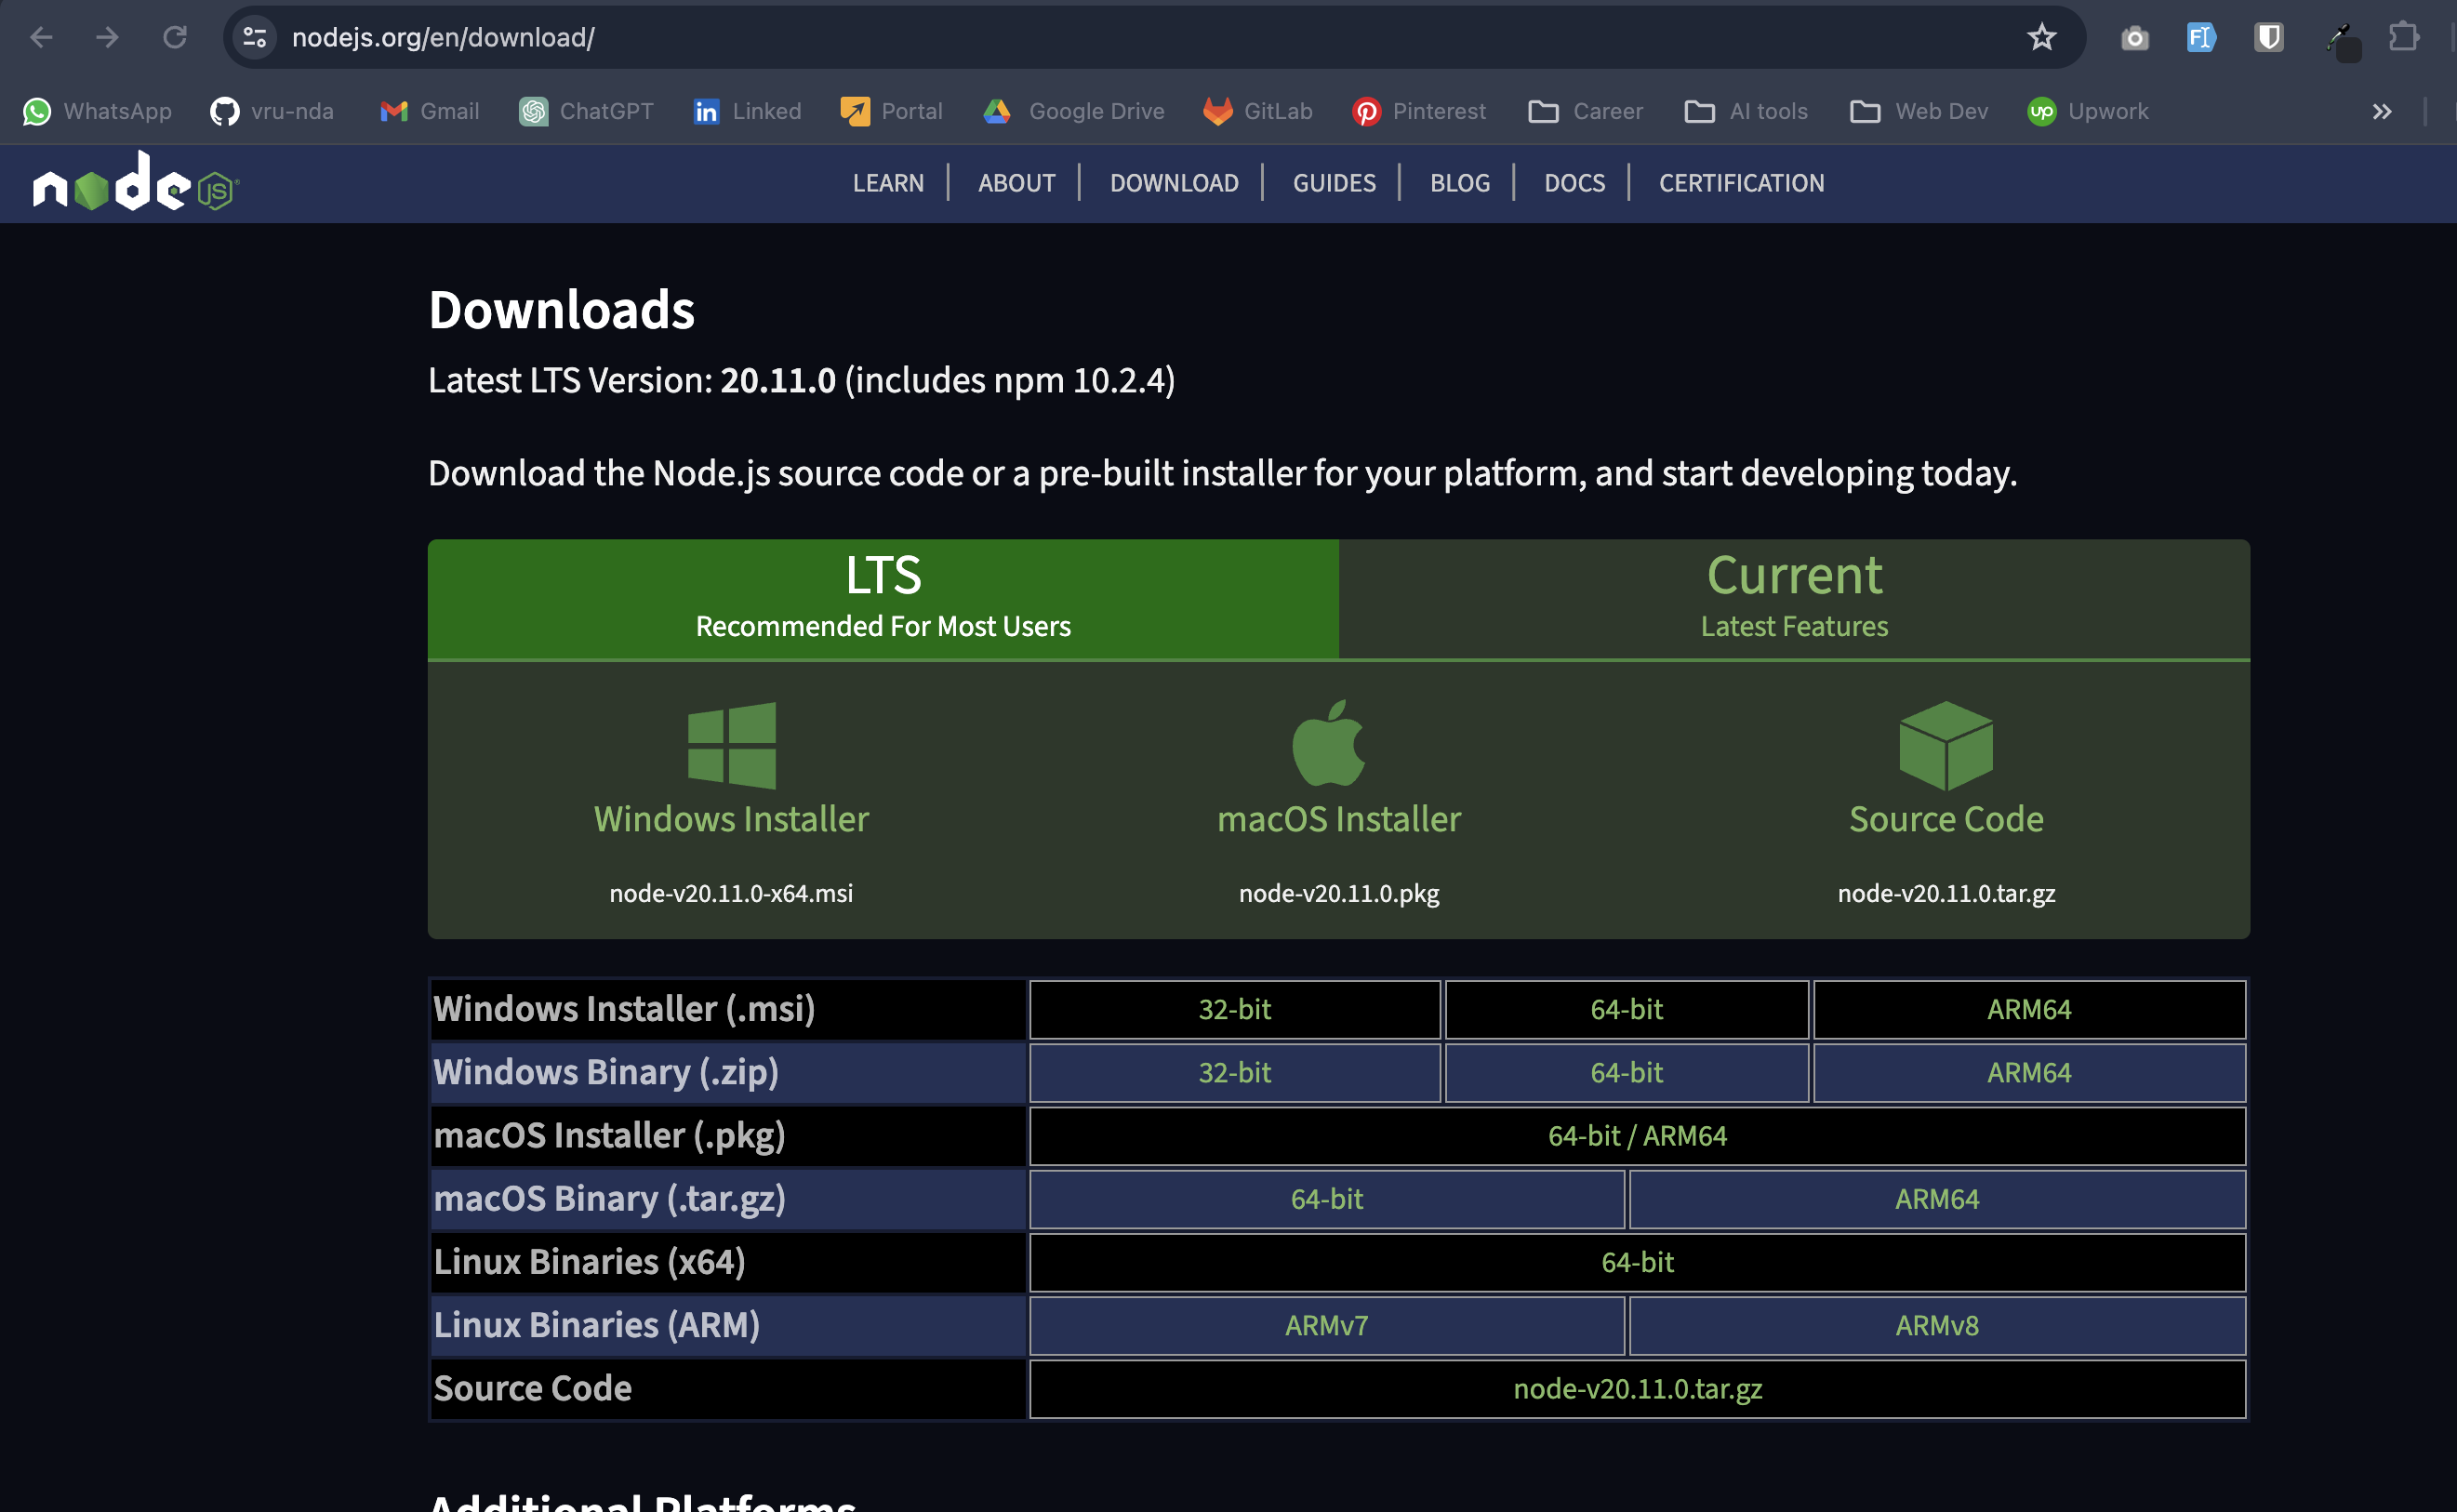
Locate the downloaded installer document on your PC and double-tap it to begin the installation. A brief might seem requesting consent to run the installer. Select ‘Run’ to proceed
Once you confirm to run the file, the Node.js Setup Wizard will launch. Click ‘Next’ to continue with the installation process.
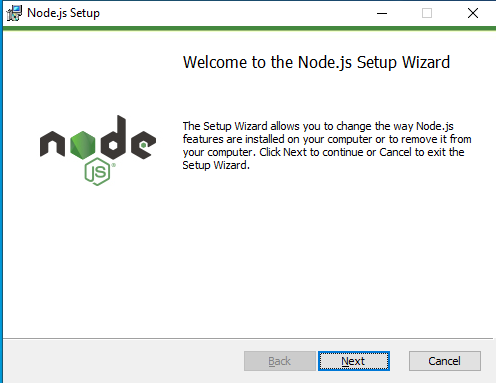
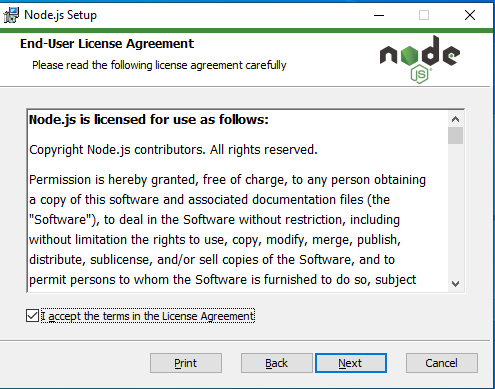
You’ll be presented with the end-user license agreement. Read and accept the terms by ticking the agreement box, then click ‘Next’ to advance.
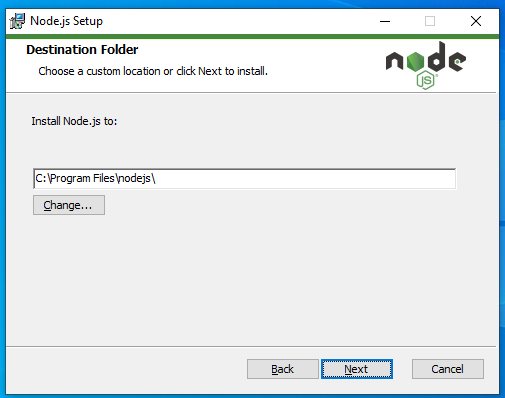
The wizard will suggest a default installation path, typically in the Program Files directory on your C drive. You can change this location by clicking the ‘Change’ button. Ensure the chosen directory has sufficient space for Node.js and its future updates.
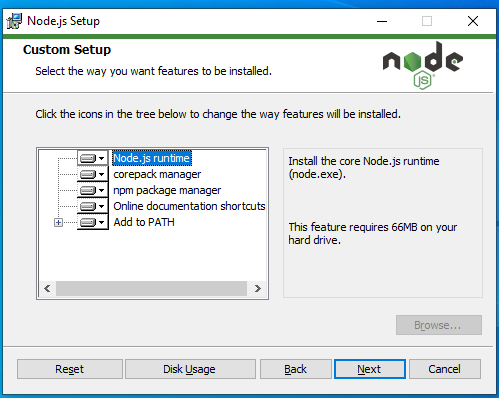
In the Custom Setup stage, select the components you wish to install. These may include the Node.js runtime, NPM package manager, and optional items like online documentation shortcuts. Every component’s details can be seen by clicking on them. Guarantee you have something like 143MB of free space for the installation.
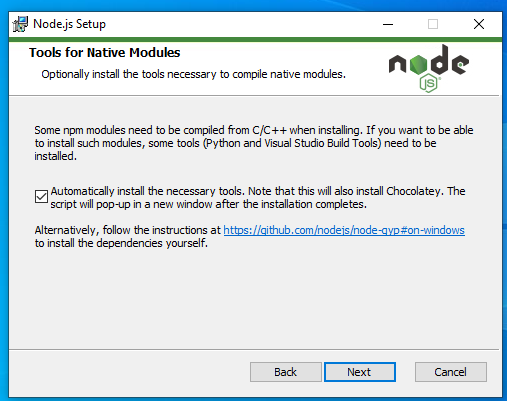
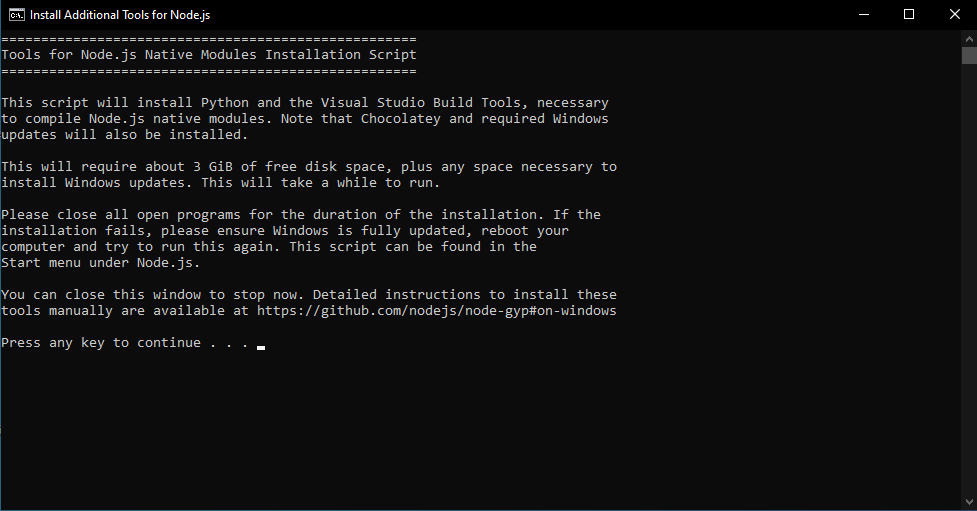
This step is optional. If you require additional tools with Node.js, check the respective box. Click ‘Next’ to proceed, and the setup will automatically download and install these tools.
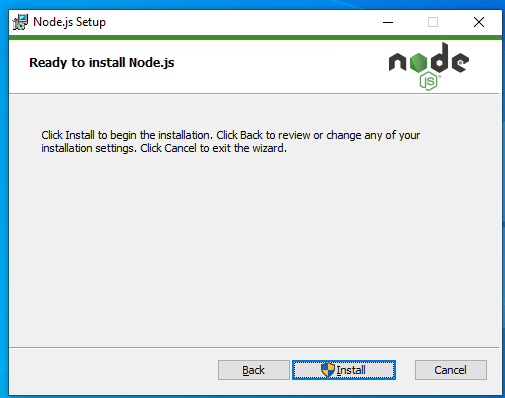
Click ‘Install’ to start the installation process. You can return to the previous steps if you need to alter any settings.
During installation, a progress bar will display the current status. Wait until the installation is completed.
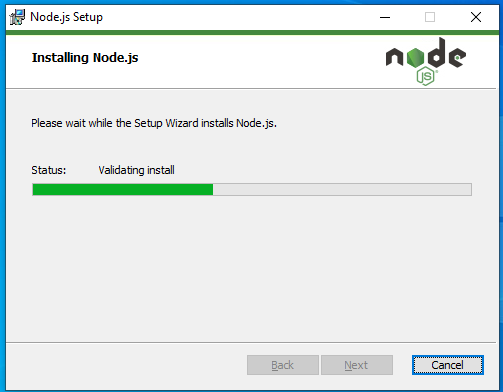
Once the installation is finished, all necessary files will be installed on your system, making it ready for Node.js and NPM usage.
If you opted for additional tools, an Order Brief window will open post-installation. Adhere to the on-screen guidelines to finish this process.
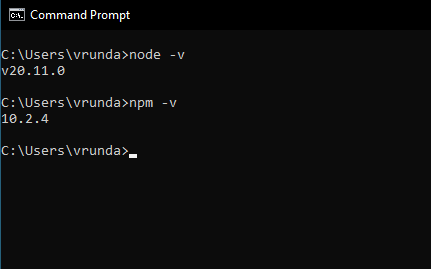
Installing Node.js and NPM is a straightforward process that opens a world of possibilities in development. With these tools at your disposal, you’re well on your way to building robust and efficient web applications.
We’d love to hear about your experience with installing Node.js and NPM. For more insights and resources in web development, keep following our blog.